

Reese’s Peanut Butter No-Bake Bars are the easiest way to enjoy a decadent, no-oven dessert. With a creamy peanut butter layer over crunchy graham cracker crust and topped in rich chocolate, this treat hits all the right notes. Made in just 15 minutes with simple ingredients, it’s a go-to for sweet cravings or family gatherings. My kids were shocked I made these without baking—just like our beloved slutty brownies. Whether it’s a weekday fix or weekend surprise, these bars always deliver. Let’s jump into this no-bake perfection!
Table of Contents
Why You’ll Love These Reese’s Peanut Butter No-Bake Bars
If you’ve ever wished Reese’s Cups came in tray form and didn’t require turning on your oven—this recipe is your answer. These bars are more than just a shortcut dessert; they’re that magical combo of texture, flavor, and effortlessness that makes you wonder, “Why don’t I make these more often?”
Here’s why people keep coming back for more:
- No oven, no stress: Just mix, layer, chill, and done.
- Spot-on flavor: A true copycat of Reese’s with real peanut butter + a chocolate topping.
- Crowd-pleaser: Whether it’s potlucks, holidays, or after-school snacks—these disappear fast.
- Customizable: Make them vegan, gluten-free, or “healthier” with easy swaps.
- Make-ahead magic: They store beautifully in the fridge or freezer.
Can’t get enough peanut butter? Try our fan-favorite peanut butter chip cookie—same rich flavor, different texture.
There’s also something nostalgic about the buttery graham cracker crust meeting that rich peanut butter base. It’s the kind of dessert you can make once and memorize forever.
Fun fact: Reese’s Peanut Butter Cups have been a beloved American candy since 1928, when H.B. Reese first created the iconic peanut butter-and-chocolate combo
What makes these better than store-bought?
Homemade means control—you decide the sweetness, the chocolate thickness, and even the mix-ins (mini pretzels? Crushed peanuts? Do it!). Unlike prepackaged bars, these come without preservatives, and every bite feels a little more personal.
FAQ — Are these bars good for summer gatherings?
Absolutely. Since they require no baking and can be chilled ahead of time, they’re ideal for hot-weather entertaining. Just keep them cool until serving, and you’ve got a fuss-free hit dessert.
Ingredients & Easy Substitutions for Reese’s No-Bake Bars
Before we get into mixing and layering, let’s set the stage with your ingredients. Everything here is pantry-friendly and straightforward, but a few smart swaps can make the recipe suit just about any diet or craving.
What You’ll Need
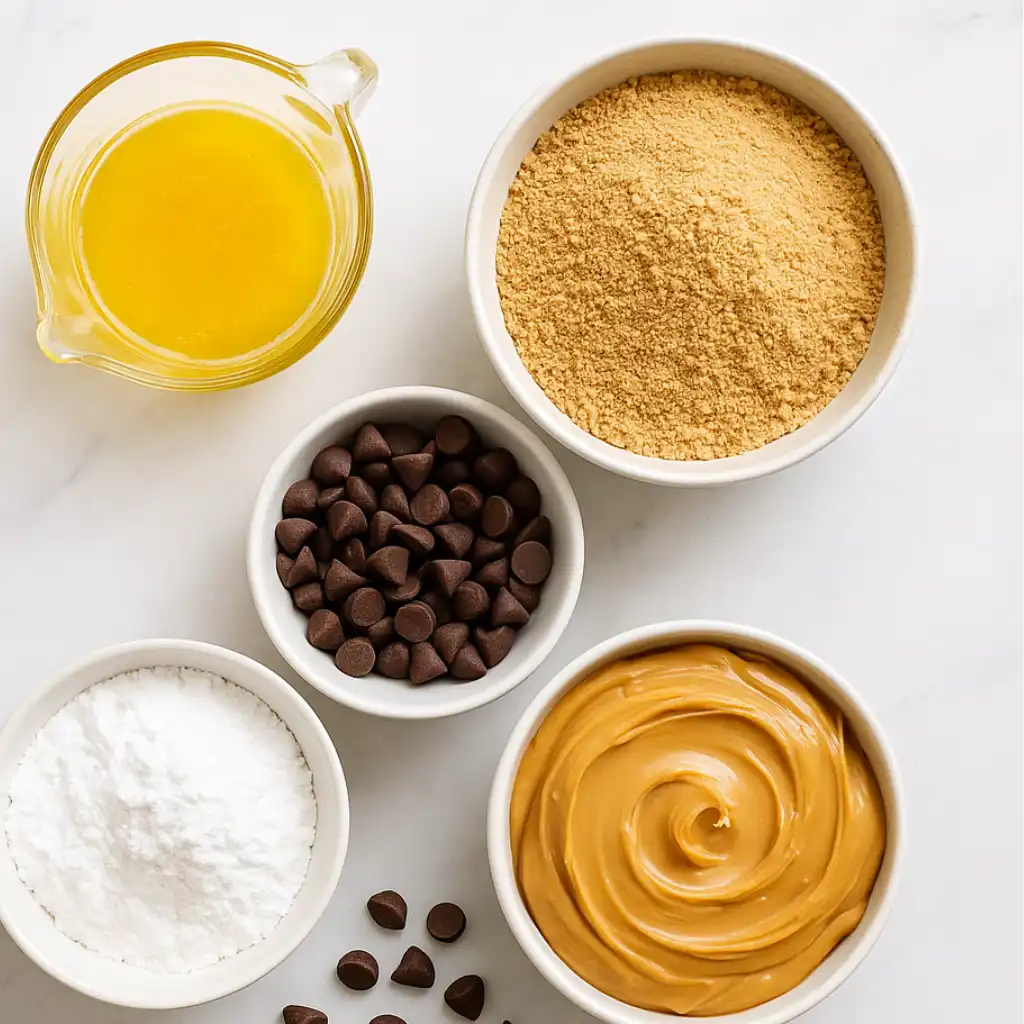
- 1 cup unsalted butter, melted
Helps bind the base and adds richness. For dairy-free, use melted coconut oil or vegan butter. - 2 cups graham cracker crumbs
This forms the crust. You can crush whole graham crackers in a food processor. For gluten-free, use GF graham-style crackers or crushed pretzels. - 2 cups powdered sugar
Adds sweetness and structure. Reduce to 1.5 cups for less sweetness, or use a sugar-free substitute like monk fruit powder. - 1 cup creamy peanut butter (plus ¼ cup more for the topping)
Shelf-stable brands like Jif or Skippy work best. Natural PB can work too but requires more chill time due to texture. - 1½ cups semi-sweet chocolate chips
Melt into that classic top layer. Try dark chocolate, white chocolate, or even butterscotch chips for variety.
Optional Add-Ins & Customization Ideas
- Chopped roasted peanuts for crunch
- Mini marshmallows for gooey texture
- Flaky sea salt on top
- A swirl of Nutella or cookie butter over the chocolate
Can I use almond or sunflower butter instead?
Absolutely. Almond butter gives a toasty flavor, while sunflower butter is great for nut-free versions. You might need to tweak the graham cracker ratio for ideal firmness.
How to Make Reese’s Peanut Butter No-Bake Bars– Step by Step
No oven. No fancy tools. Just a few bowls, a microwave, and a fridge. You’re about 15 minutes away from a tray of rich, chocolatey peanut butter bars that taste like they came from a candy shop.
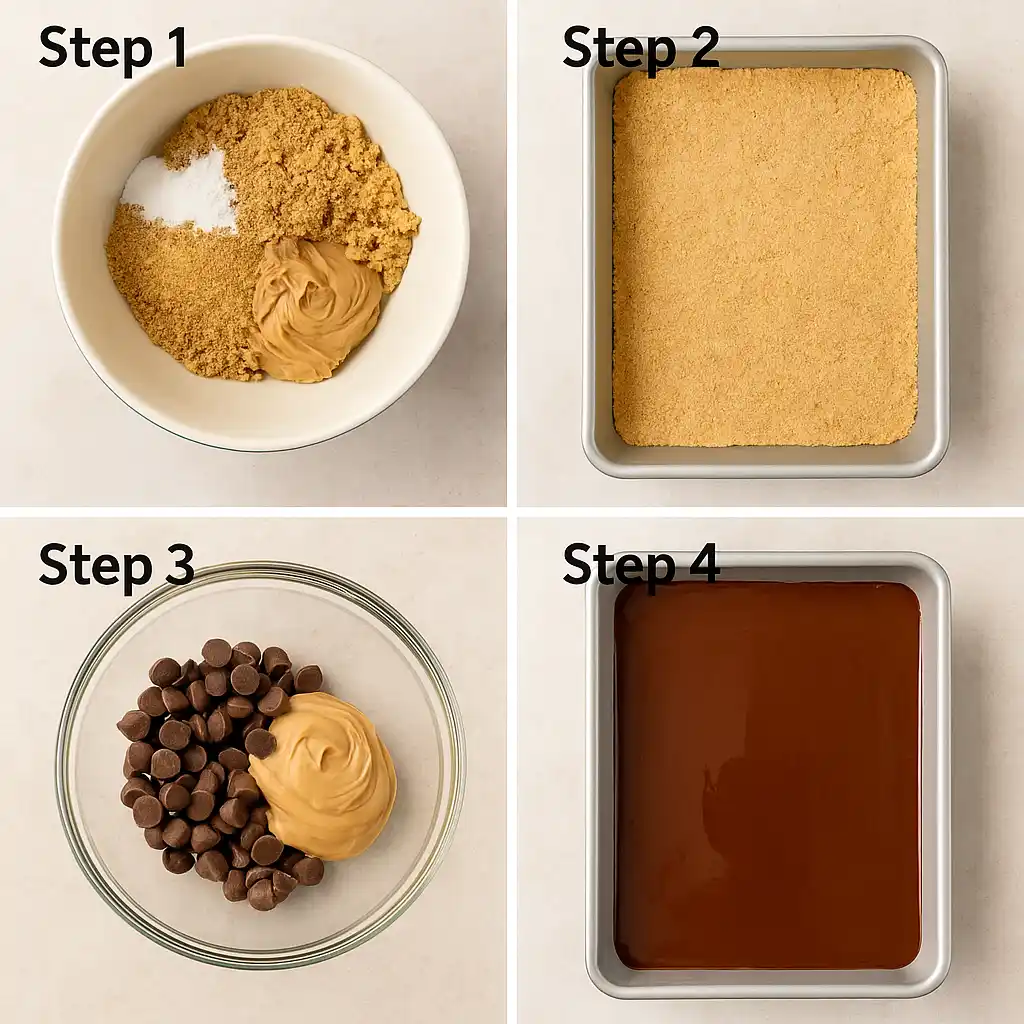
Step 1: Make the Base
In a medium bowl, combine:
- 1 cup melted butter
- 2 cups graham cracker crumbs
- 2 cups powdered sugar
- 1 cup creamy peanut butter
Mix until smooth and thick—like soft cookie dough.
Step 2: Press Into the Pan
Grease or line a 9×13-inch baking pan. Press the mixture evenly into the bottom using a spoon or your palm.
Step 3: Make the Chocolate Layer
In a microwave-safe bowl, mix:
- 1½ cups chocolate chips
- ¼ cup creamy peanut butter
Microwave in 30-second bursts, stirring each time until glossy and pourable.
Step 4: Spread and Chill
Pour the melted chocolate mixture over the base and smooth it out. Refrigerate for 2+ hours until fully set. Cut into bars or squares and enjoy!
Pro Tip — Having trouble cutting clean slices?
Run a sharp knife under hot water, wipe dry, then cut. Repeat between slices for neat results.
Craving a more traditional candy version? Try this PBS Food tutorial on how to make classic peanut butter cups at home
FAQ — Can I freeze these?
Yes! Freeze individually wrapped bars for up to 2 months. Thaw at room temp for 20–30 minutes before serving.
Serving Suggestions & Pairings
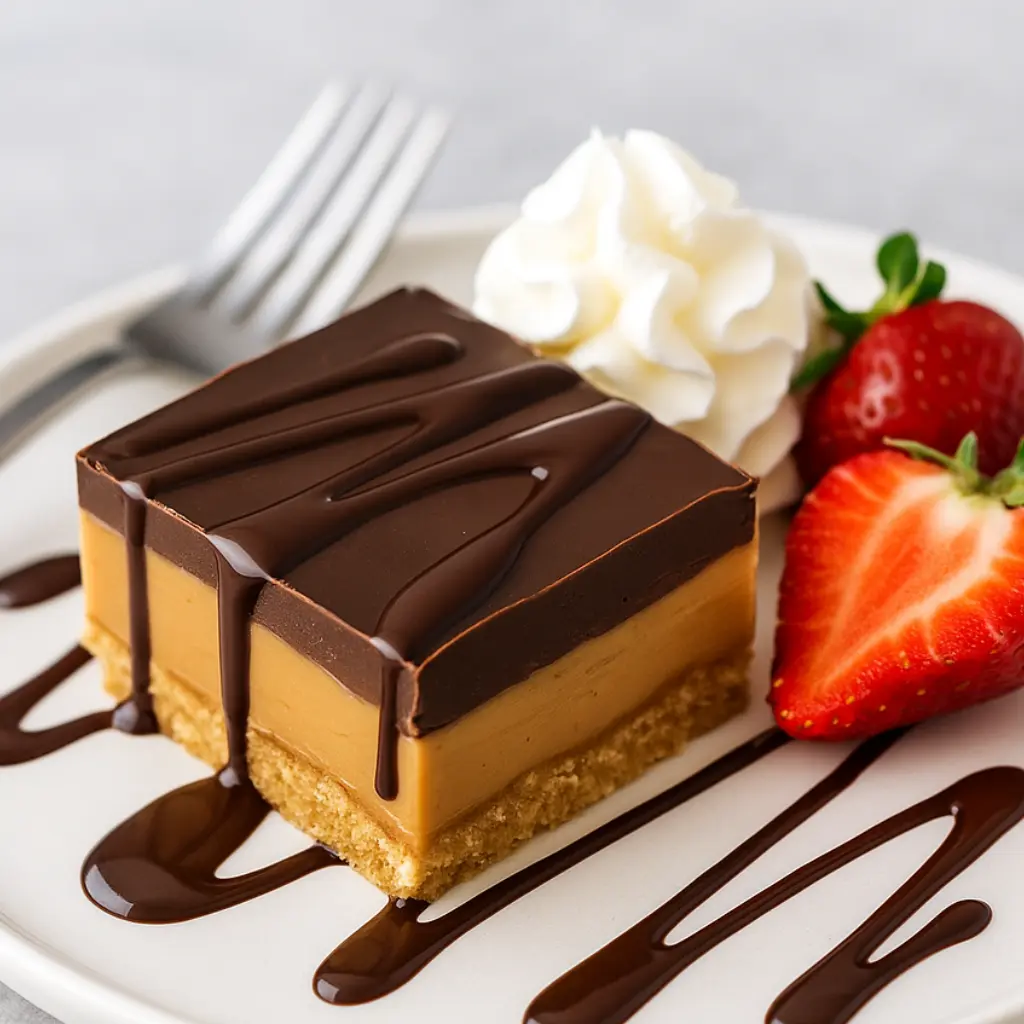
These bars are already delicious solo, but a few creative pairings can turn them into a plated dessert or party hit.
- Vanilla bean ice cream
- Fresh berries for contrast
- Whipped cream dollop
- Crushed pretzels or sprinkles for flair
- Holiday themes: Add colored sprinkles for festive vibes
Remix It — Create a Dessert Platter
Host a DIY bar board with:
- Reese’s bars (sliced small)
- Chocolate-dipped fruit
- Mini brownies
- Pretzels and caramel cups
For a build-your-own dessert table, pair these bars with playful treats like our ice cream nachos—everyone loves scooping their own combo of crunch, cream, and toppings.
FAQ — Can I layer something in the middle?
Yes! A thin layer of caramel, marshmallow fluff, or crushed Oreos between the base and chocolate works great. Keep it light to avoid sogginess.
Storage, Freezing & Make-Ahead Tips
These bars aren’t just easy to make—they’re a dream to store and serve later.
Storing in the Fridge
- Store in a sealed container for up to 1 week
- Use parchment paper between layers
Freezing Instructions
- Wrap individually and freeze up to 2 months
- Thaw in the fridge or room temp for 30 minutes
Make-Ahead Tip
Make the full tray up to 3 days early. Chill overnight for the cleanest cuts. Want bite-sized bars? Use a mini muffin tin and liners!
FAQ — Can I leave them out?
Yes—for 1–2 hours max. In warm weather, they’ll soften quickly, so refrigerate until right before serving.
FAQs — Troubleshooting & Tips
Can I use natural peanut butter?
Yes, just chill the base longer since natural PB is looser and oilier.
My bars won’t slice cleanly—what gives?
They need more fridge time or a warm knife! Chill longer or slice after 15 min in the freezer.
My chocolate cracked. What happened?
Let the bars warm slightly before slicing. Cold chocolate cracks easier.
Can I double the batch?
Yes, just use a large pan or split into two trays.
Best way to transport?
Chill first. Stack with parchment and use an ice pack if it’s hot out.
Nutrition Snapshot + Lightened-Up Tips
Per bar (1 of 24)
- Calories: 280
- Fat: 18g
- Sugar: 20g
- Carbs: 30g
- Protein: 4g
- Fiber: 1g
Want to make it lighter?
- Use coconut oil + applesauce instead of full butter
- Sub sugar-free powdered sweetener
- Choose dark chocolate chips
- Slice smaller pieces!
Peanut butter isn’t just delicious—it’s packed with healthy fats, protein, and key nutrients like vitamin E and magnesium that support heart and brain health. According to Health.com, daily consumption may even help curb cravings and improve blood sugar control.
FAQ — Can these be Weight Watchers-friendly?
Yes—use powdered PB2, sugar-free chocolate, and monk fruit sweetener. Lighter, but still satisfying.
Final Thoughts — Your New Favorite No-Bake Treat?
There’s something almost sneaky about how easy these bars are—like you’re getting away with dessert magic. No oven. No complicated techniques. Just layers of peanut butter and chocolate that come together in minutes and taste like a candy aisle dream.
If you’ve made it this far, you’re probably already eyeing your pantry to see if you have graham crackers and peanut butter on hand. (If you don’t, add them to your list—trust me.) Whether you’re baking with kids, feeding a crowd, or just need a quick win at the end of a long day, these Reese’s Peanut Butter No-Bake Bars deliver. Every single time.
So go ahead—bookmark it, print it, or share it with that one friend who’s always “not a baker.” This recipe might just change their mind.
1 thought on “Easy Reese’s Peanut Butter No-Bake Bars – 15-Minute Dessert”