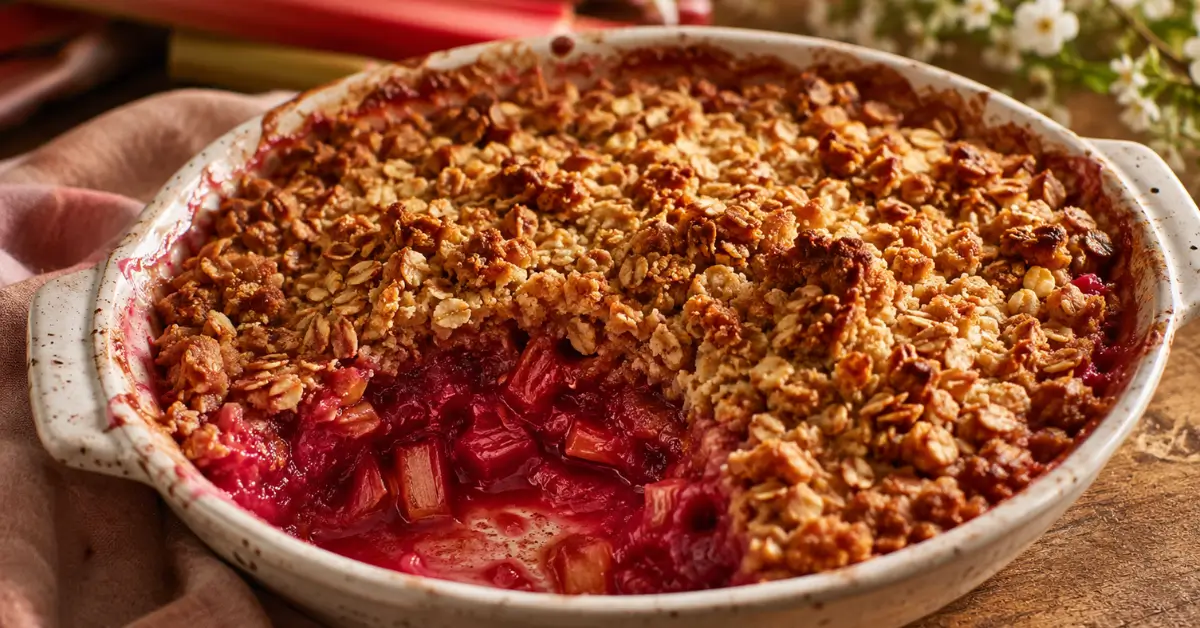
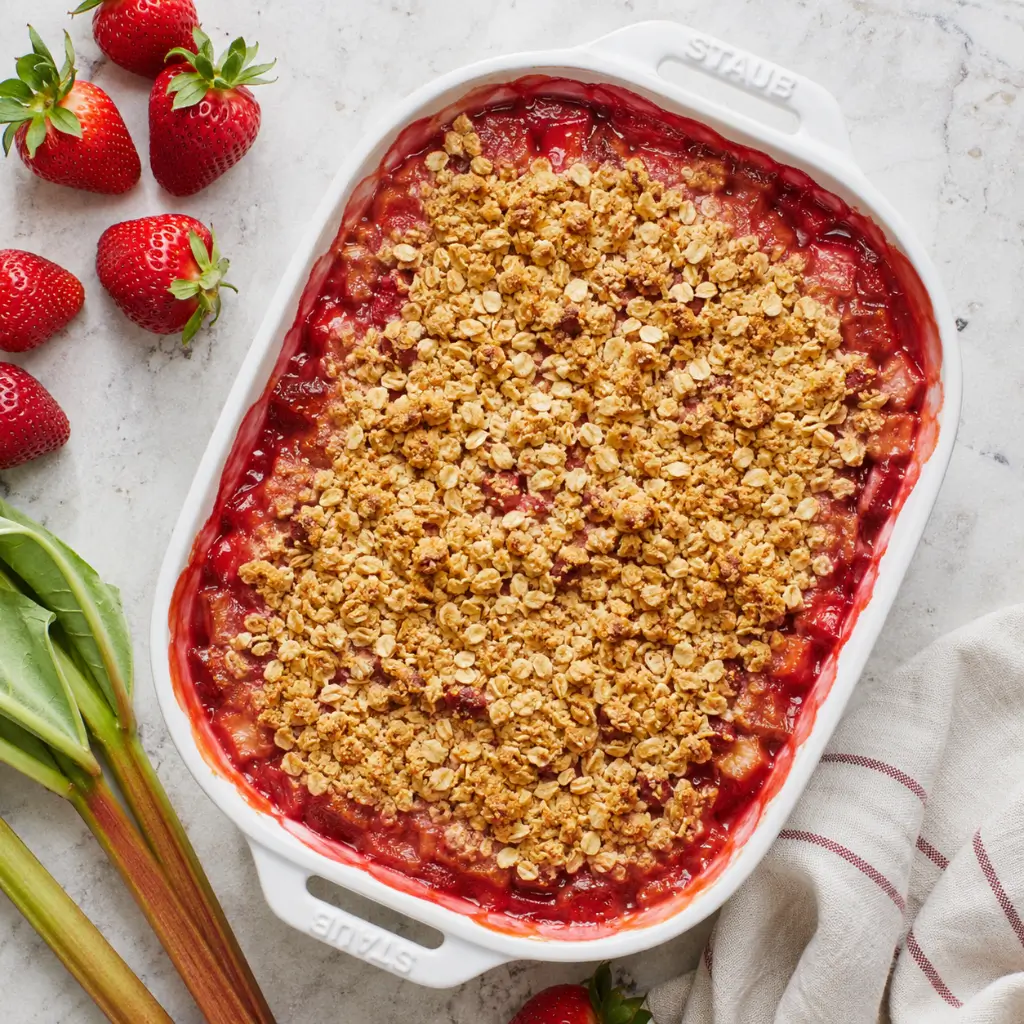
Let’s be honest — most people sleep on rhubarb. They walk right past those gorgeous crimson stalks at the market, maybe vaguely aware that rhubarb exists, unsure what to actually do with it. That’s a shame, because tucked inside those tart, fibrous stalks is one of the most exciting flavors spring has to offer: bright, punchy, almost electric on the tongue. And nowhere does rhubarb shine brighter than in a proper homemade crisp.
This isn’t just another recipe. It’s the one that’s going to make you look forward to rhubarb season the way you look forward to the first warm weekend of the year. The filling goes jammy and deep, the topping turns shatteringly crisp with toasted oats and caramelized brown sugar, and the whole thing comes out of the oven smelling like the best version of someone’s childhood kitchen.
No pie dough though if you ever want one, our easy apple pie recipe has you covered. No chilling. No fuss. Just a bowl, a baking dish, and about an hour of your time.
Table of Contents
What Makes This Rhubarb Crisp Different
Most rhubarb crisp recipes are perfectly fine. This one goes further. Here’s what sets it apart:
- The topping ratio is everything. Most recipes skimp on the crisp layer. This one doesn’t — you get a thick, generous blanket of oat crumble that stays crunchy even after it cools.
- Cornstarch in the filling means you’ll never end up with a soupy, watery mess. The filling sets into a thick, glossy, jammy layer that scoops beautifully.
- Cold butter, worked in by hand, creates irregular crumble clusters that bake up with both crunch and chew — infinitely better than a uniform, processed topping.
- Lemon zest in the filling cuts through the sweetness and makes the rhubarb flavor pop in a way that most recipes miss entirely.
Rhubarb 101: What You’re Working With
If you’ve never cooked with rhubarb before, a quick primer. Rhubarb looks like bright pink or red celery. It’s technically a vegetable, though it behaves like a fruit in the kitchen. Raw, it’s intensely sour not unpleasantly so, but enough that you’d never eat it plain. Cooked with sugar, it becomes something else entirely: jammy, fragrant, with a flavor that has no real equivalent. Tart but not harsh. Fruity but not sweet. Deeply, satisfyingly its own thing.
Red vs. green rhubarb: Both work. The red variety looks prettier in the finished dish, but green rhubarb is equally flavorful don’t let color be the deciding factor.
Is it safe? Yes, with one caveat: the leaves are toxic and should never be eaten. Trim them off completely and throw them away. The stalks are perfectly safe.
Fresh vs. frozen: Fresh is ideal from late April through June. Frozen is a completely legitimate substitute the rest of the year and according to King Arthur Baking, baking with frozen fruit often produces results just as good as fresh when done correctly. Unlike delicate berries, rhubarb’s texture holds up well after freezing, and in a crisp where it’s going to cook down anyway the difference is negligible.
Ingredient Breakdown
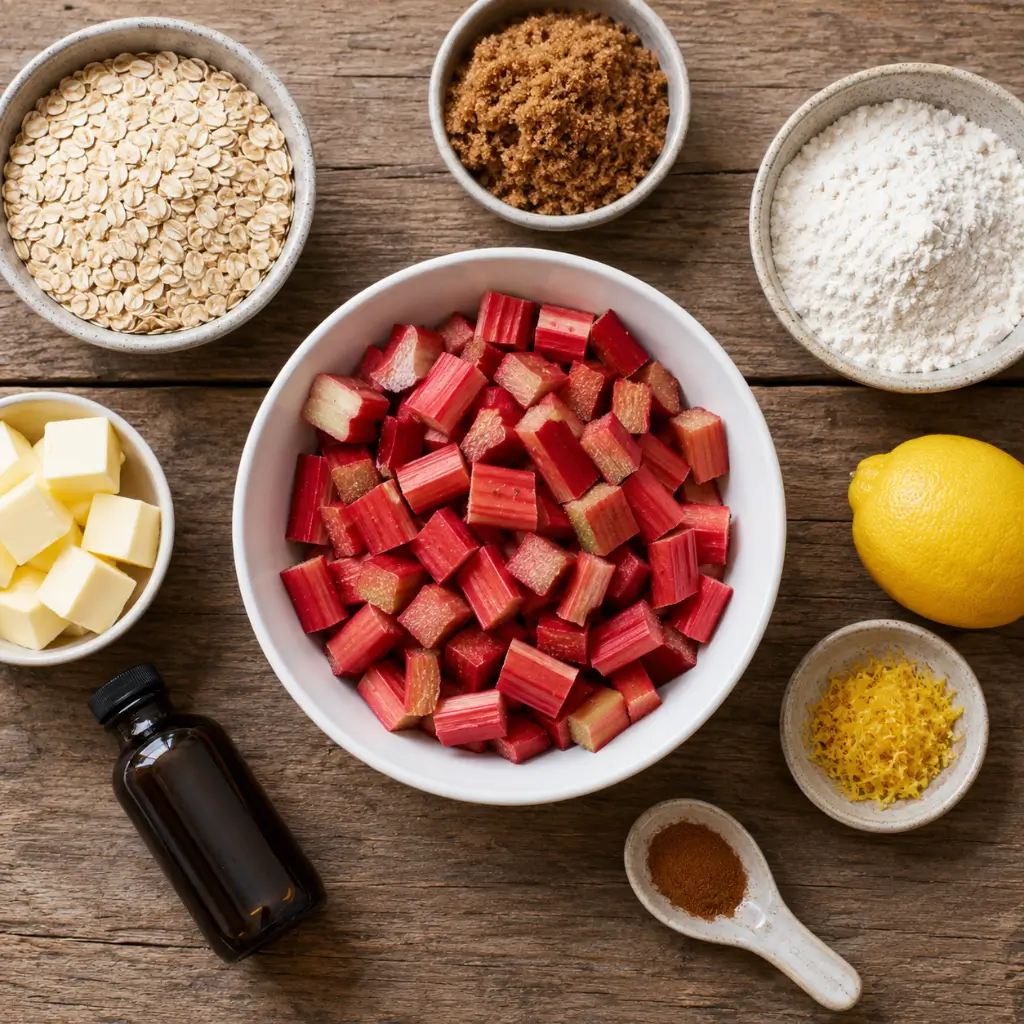
Getting the right ingredients makes a real difference here. Here’s what you need and why each one matters.
For the Filling
Rhubarb (4 cups, cut into ½-inch pieces): The star. Cut uniformly so everything cooks at the same rate. For thick, mature stalks, run a paring knife along the outside to strip away any tough fibrous strings — similar to stringing celery — before chopping.
Granulated sugar (½ cup): Balances the tartness without masking it. You can nudge this up or down by a tablespoon depending on how sweet you like your desserts.
Cornstarch (2 tablespoons): The secret to a crisp that actually holds together. It dissolves into the rhubarb juices during baking and thickens them into a glossy, spoonable filling.
Lemon juice (1 tablespoon) and zest (1 teaspoon): Brightens everything. The zest especially adds a floral, aromatic edge that makes the whole filling taste more alive.
Cinnamon (½ teaspoon): Warmth without weight. Don’t overdo it — rhubarb has delicate flavor and cinnamon can easily bulldoze it.
Vanilla extract (1 teaspoon): Optional by the letter of the recipe, mandatory in spirit. It rounds out the filling and adds depth.
For the Crisp Topping
Old-fashioned rolled oats (1 cup): Non-negotiable. Quick oats absorb liquid, go mushy, and completely miss the point. Old-fashioned oats toast beautifully and give you that signature crunch.
All-purpose flour (½ cup): Binds the topping together so it doesn’t just scatter across the filling.
Brown sugar (½ cup, packed): Caramelizes as it bakes and gives the topping its golden color and slightly toffee-like flavor. Dark brown sugar adds a little extra depth if you have it.
Cinnamon (½ teaspoon) and salt (¼ teaspoon): The salt is not optional — it balances the sweetness and makes every other flavor sharper.
Cold unsalted butter (6 tablespoons, cubed): Keep it in the fridge right up until you need it. Cold butter is what creates those irregular crumbly clusters. Warm butter turns the whole topping into a paste.
How to Make It: Step by Step
Yield: 6–8 servings | Prep: 15 minutes | Bake: 40–45 minutes | Cool: 15–20 minutes
Step 1 — Get Your Oven Going
Heat your oven to 375°F (190°C). Butter a 9×9-inch square or equivalent baking dish. You want enough surface area for the filling to spread out and the topping to cover evenly — don’t try to squeeze this into a dish that’s too small.
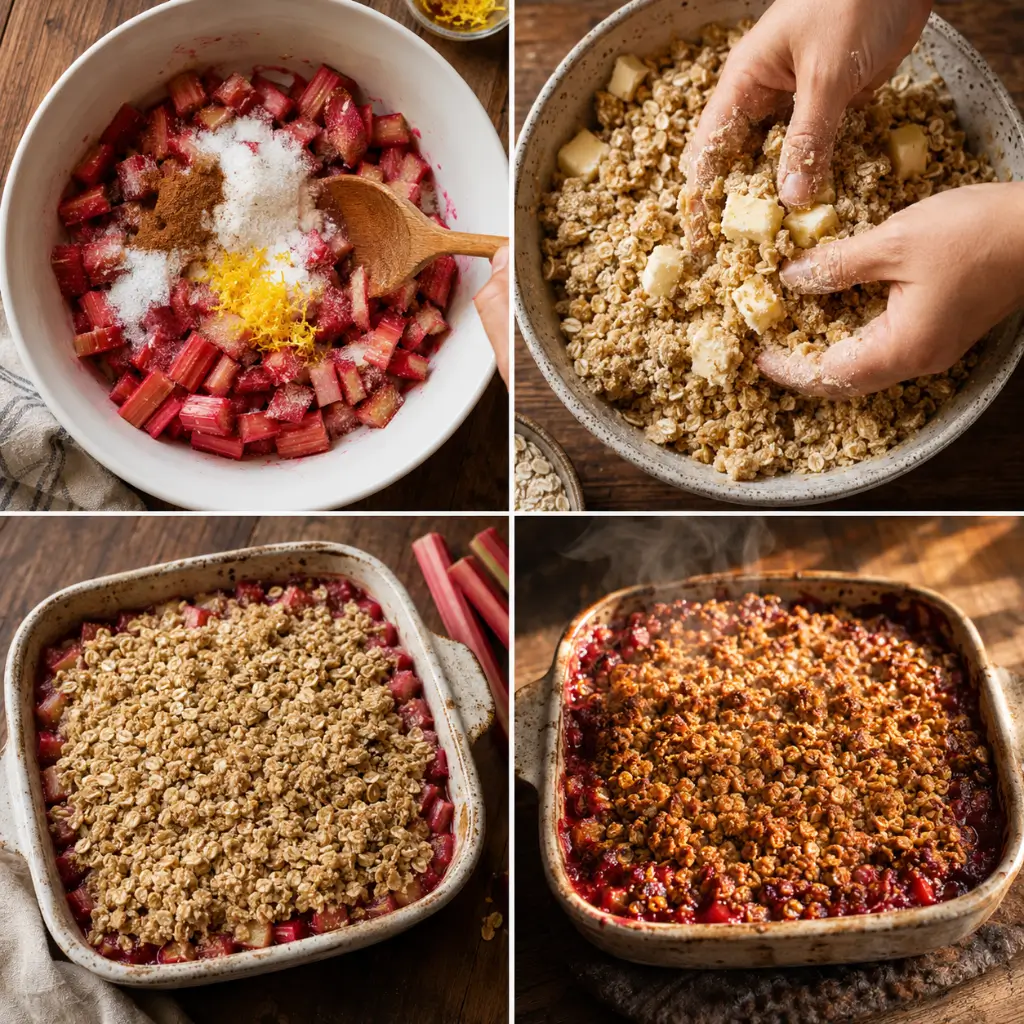
Step 2 — Prep the Rhubarb
Wash your stalks, strip away any stringy fibers from thick pieces, and chop into ½-inch chunks. You’re aiming for 4 even cups. In a large bowl, toss the rhubarb with the sugar, cornstarch, lemon juice, zest, cinnamon, and vanilla until everything is well coated. The cornstarch will look dusty and chalky at first — that’s fine. It will melt into the juices in the oven.
Tip the filling into your buttered baking dish and spread it level.
Step 3 — Build the Topping
In a separate bowl, combine oats, flour, brown sugar, cinnamon, and salt. Give it a quick stir. Now add the cold butter cubes.
Here’s where technique matters: use your fingertips, not a spoon, not a food processor. Press and smear the butter into the dry ingredients until the mixture looks like coarse, shaggy crumbles with irregular chunks ranging from fine sand to small pebbles. Stop before it looks uniform — the irregularity is what gives you that combination of crunchy bits and chewy clusters once it bakes.
Step 4 — Assemble and Bake
Scatter the topping over the filling in an even layer, right to the edges. Don’t press it down let it sit loose so hot air can circulate and crisp it up.
Slide it into the center of your oven and bake for 40 to 45 minutes. You’re waiting for two things: the topping should be a deep, nutty golden brown, and the filling should be actively bubbling around the edges — thick, jammy bubbles, not thin watery ones. Those thick bubbles tell you the cornstarch has done its job.
If the topping is browning faster than the filling is bubbling, cover loosely with foil and give it another 10 minutes.
Step 5 — Rest Before You Serve
This step is harder than it sounds when the smell is filling your kitchen, but rest the crisp for at least 15 to 20 minutes before serving. The filling is still thickening as it cools. Cut into it too early and it’ll run all over the bowl. Wait, and you get a clean, glossy scoop every time.
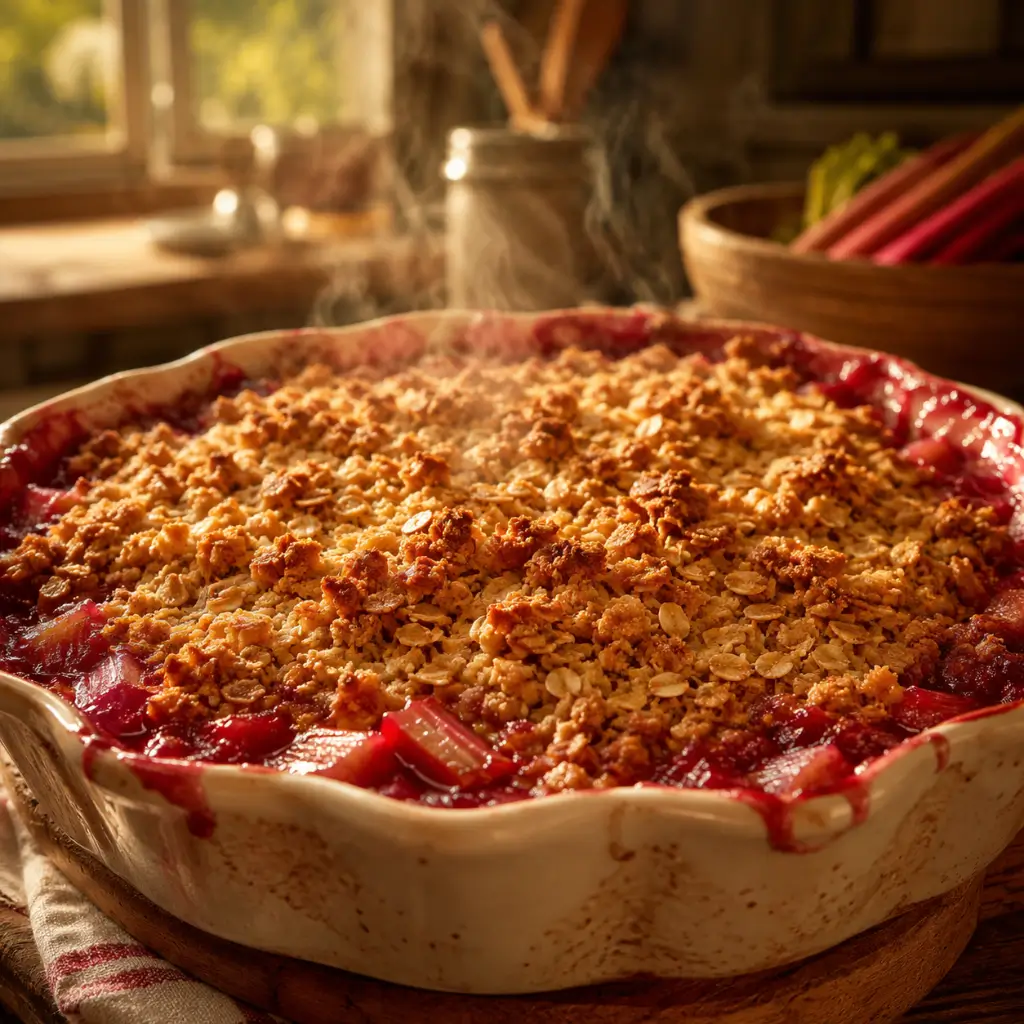
Serve warm. Always warm.
Troubleshooting: Common Problems Solved
My crisp came out watery. Two likely culprits: not enough cornstarch, or you didn’t let it cool long enough. Make sure you’re using 2 full tablespoons of cornstarch in the filling, and give it the full 15–20 minute rest after baking. If using frozen rhubarb, it releases extra moisture — add an extra ½ tablespoon of cornstarch to compensate.
My topping is soggy, not crispy. Either the butter was too warm when you worked it in, or the topping layer was too thin. Use cold butter straight from the fridge and don’t be shy with the crumble — it should be a generous, thick layer across the whole surface.
The filling tastes too tart. Rhubarb sweetness varies by variety and how mature the stalks are. Taste your filling mixture before it goes into the dish and add an extra tablespoon of sugar if needed.
The topping burned before the filling cooked. Your oven may run hot. Tent with foil after 25–30 minutes and check the bubbling filling before removing the foil.
Creative Variations Worth Trying
Classic Strawberry Rhubarb Crisp
Swap out 1½ cups of rhubarb for hulled, halved strawberries. The pairing is iconic because it works strawberries soften the tartness and add natural sweetness. Reduce sugar in the filling by 1 tablespoon. For an even richer strawberry flavor, stir in a spoonful of homemade strawberry preserves into the filling before baking.
Spiced Ginger Orange Crisp
Replace the lemon with orange (juice and zest) and add ½ teaspoon of ground ginger to the filling. Add a pinch of cardamom to the topping. The result tastes sophisticated and warming excellent for early spring when it’s still a bit cool outside.
Apple Rhubarb Crisp
Peel and dice 2 Granny Smith apples and combine with 2½ cups of rhubarb. The apples add body and stretch the filling for even deeper apple flavor, try using our homemade apple pie filling in place of fresh apples. Add a pinch of nutmeg alongside the cinnamon.
Pecan Crunch Topping
Add ½ cup of roughly chopped pecans to the topping mixture. The nuts toast as the crisp bakes and add a roasted, buttery richness that takes the whole thing to another level.
Gluten-Free Version
Substitute the flour in the topping with a 1:1 gluten-free flour blend and use certified gluten-free oats. The texture is nearly identical to the original nobody will know.
What to Serve Alongside
Homemade vanilla ice cream is the obvious choice and also the correct one. The cold, creamy sweetness against the warm, jammy filling is one of the great simple pleasures of home cooking.
Crème fraîche adds a tangy, slightly savory note that plays beautifully against the sweetness of the filling more interesting than whipped cream, less rich than ice cream.
Lightly sweetened Greek yogurt makes the whole thing feel acceptable at breakfast. Highly recommended. No apologies.
Brown butter custard, if you’re feeling ambitious, turns this into a dinner party dessert worth bragging about. Drizzle it warm around the base of each serving bowl.
Make-Ahead and Storage Guide
Make it ahead: Assemble the full unbaked crisp, cover tightly with plastic wrap, and refrigerate for up to 24 hours. Bake straight from the fridge just add 5 extra minutes to the bake time.
Refrigerator storage: Once baked and cooled, cover and refrigerate for up to 4 days. The topping softens slightly over time but the flavor only improves.
Freezer: Freeze the fully baked, fully cooled crisp for up to 3 months. Wrap tightly in plastic wrap and then foil. Thaw overnight in the refrigerator before reheating.
Reheating: The oven is your best friend here. Reheat at 350°F for 15–20 minutes until warm throughout and the topping re-crisps. The microwave works for individual servings but won’t restore the crunch.
Frequently Asked Questions
What’s the difference between a crisp and a crumble?
The topping. A crumble is made from flour, butter, and sugar only — it bakes up soft and streusel-like. A crisp adds rolled oats, which create a distinctly crunchier, more textured finish. Both are delicious, but if crunch is what you’re after, you want a crisp every time.
Do I need to peel rhubarb before using it?
No peeling needed. For young, thin stalks, just wash and chop. For thicker, more mature stalks, use a paring knife to pull away any tough fibrous strings from the outside — think of it like stringing celery. This small step makes a noticeable difference in the final texture.
Can I double this recipe?
Yes, easily. Use a 9×13-inch baking dish and increase the bake time to 50–55 minutes. Everything else scales proportionally.
How do I know when it’s done baking?
Two signs: the topping is deep golden brown (not pale, not light tan — genuinely golden), and the filling is bubbling thickly around the edges and visible through any gaps in the topping. Both must be true before you pull it out.
Can I use quick oats instead of old-fashioned?
Technically yes, but the result won’t be as good. Quick oats absorb moisture faster, go mushy, and lose that satisfying crunch that defines a crisp. Old-fashioned rolled oats are worth seeking out.
What if I don’t have cornstarch?
Arrowroot powder is the best substitute in equal amounts. All-purpose flour works in a pinch — use 3 tablespoons instead of 2 — but the filling won’t be as glossy or clear.
Final Word
Here’s the thing about rhubarb crisp: it doesn’t try to be anything other than what it is. No pretension. No complicated technique. Just good, honest ingredients doing exactly what they’re supposed to do tart fruit going jammy under a golden, buttery, crunchy topping that you’ll want to eat straight off the baking dish with a spoon. If you love easy fruit desserts like this one, our peach cobbler recipe is next on your list.
Make it once this spring. Then make it again when you run out. Then freeze a batch for July, when rhubarb season is over and you find yourself genuinely missing it.
That’s the kind of recipe this is.
The Best Rhubarb Crisp Recipe
Equipment
- 9×9-inch baking dish
- Large Mixing Bowl
- Medium mixing bowl
- Knife and cutting board
- Paring knife (for stringing rhubarb)
- Measuring Cups and Spoons
- Wooden spoon
Ingredients
Rhubarb Filling
- 4 cups fresh or frozen rhubarb cut into ½-inch pieces, fibrous strings removed from thick stalks
- ½ cup granulated sugar adjust up or down by 1 tablespoon to taste
- 2 tablespoons cornstarch thickens the filling — do not skip
- 1 tablespoon lemon juice freshly squeezed
- 1 teaspoon lemon zest brightens the overall flavor of the filling
- ½ teaspoon ground cinnamon
- 1 teaspoon vanilla extract adds depth to the filling
Crisp Topping
- 1 cup old-fashioned rolled oats do not substitute quick oats — they go mushy
- ½ cup all-purpose flour use 1:1 gluten-free blend for gluten-free version
- ½ cup packed brown sugar light or dark both work; dark adds deeper flavor
- ½ teaspoon ground cinnamon
- ¼ teaspoon salt balances sweetness — do not skip
- 6 tablespoons cold unsalted butter cubed and kept refrigerated until ready to use
Instructions
- Preheat your oven to 375°F (190°C). Lightly butter a 9×9-inch baking dish and set aside.
- Prepare the rhubarb. Wash the stalks thoroughly and trim away all leaves — they are toxic and must be discarded entirely. For thicker stalks, use a paring knife to strip away any tough fibrous strings running along the outside, similar to stringing celery. Cut the cleaned stalks into even ½-inch pieces until you have 4 full cups.
- Make the filling. Add the rhubarb pieces to a large bowl. Add the granulated sugar, cornstarch, lemon juice, lemon zest, cinnamon, and vanilla extract. Toss everything together until the rhubarb is evenly and thoroughly coated. The cornstarch will look chalky at first — this is normal and it will dissolve into the juices during baking. Pour the filling into your prepared baking dish and spread into an even layer.
- Make the crisp topping. In a medium bowl, combine the rolled oats, flour, brown sugar, cinnamon, and salt. Stir briefly to combine. Add the cold butter cubes. Using your fingertips, press and smear the butter into the dry ingredients until the mixture forms coarse, shaggy crumbles with irregular chunks — some fine, some pea-sized. Stop before it looks uniform. The irregular texture is what gives you that signature combination of crunch and chew after baking. Do not overmix.
- Assemble the crisp. Scatter the oat topping loosely and evenly over the rhubarb filling, covering all the way to the edges of the dish. Do not press the topping down — leave it loose so hot air can circulate and crisp it properly.
- Bake on the center oven rack for 40–45 minutes. The crisp is done when the topping is a deep, nutty golden brown and the filling is bubbling thickly around the edges and up through any gaps in the topping. Thin, watery bubbles mean it needs more time — wait for thick, jammy bubbles. If the topping browns too quickly before the filling bubbles, tent loosely with aluminum foil and continue baking for another 10 minutes.
- Rest and serve. Remove from the oven and allow the crisp to rest for at least 15–20 minutes before serving. The filling continues to thicken as it cools — cutting in too early will result in a runny filling. Serve warm with a generous scoop of homemade vanilla ice cream or a dollop of crème fraîche.
Notes
- Frozen rhubarb: Add directly from frozen without thawing. Increase bake time by 5–10 minutes and add an extra ½ tablespoon of cornstarch to account for additional moisture.
- Watery filling fix: Always use the full 2 tablespoons of cornstarch and allow the full 15–20 minute rest after baking before serving.
- Cold butter is non-negotiable: Keep butter in the fridge until the exact moment you need it. Warm butter turns the topping into a paste instead of crumbles.
- Strawberry rhubarb variation: Replace 1½ cups of rhubarb with hulled, halved fresh strawberries. Reduce sugar in the filling by 1 tablespoon. Stir in a spoonful of homemade strawberry preserves for even richer flavor.
- Apple rhubarb variation: Combine 2½ cups rhubarb with 2 peeled, diced Granny Smith apples. Add a pinch of nutmeg alongside the cinnamon. For deeper apple flavor, use homemade apple pie filling in place of fresh apples.
- Pecan crunch topping: Add ½ cup roughly chopped pecans to the topping mixture for extra richness and roasted flavor.
- Make ahead: Assemble unbaked crisp, cover tightly, and refrigerate up to 24 hours before baking. Add 5 minutes to bake time if going straight from fridge to oven.
- Storage: Cover and refrigerate up to 4 days. Reheat in a 350°F oven for 15–20 minutes for best texture. Freeze fully baked and cooled crisp up to 3 months.


