
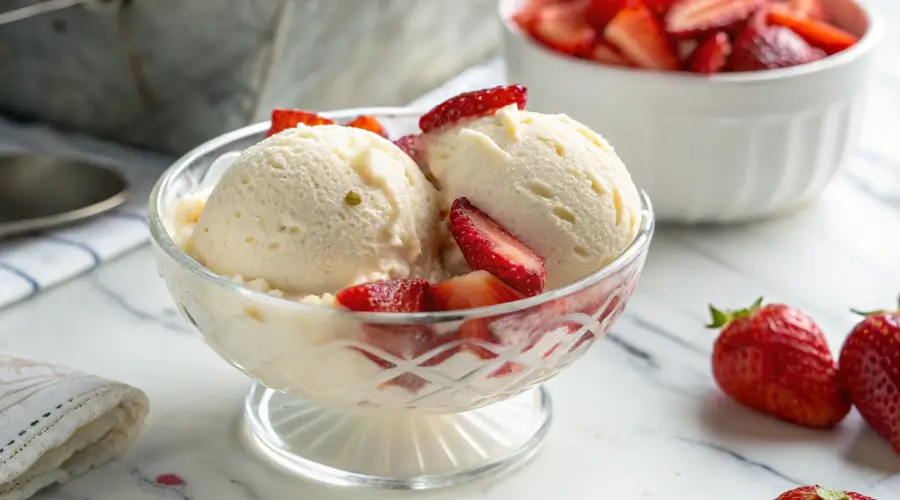
Let’s be honest we don’t really need to make vanilla ice cream from scratch. Grocery store freezers are full of it, and honestly, most of it’s… fine. But if you’ve ever dug a spoon into a bowl of your own homemade vanilla ice cream, still a little soft from the churn, you already know: that stuff doesn’t compare.
It’s not just the flavor though, yeah, that alone kind of justifies the effort. It’s the process. The slow heating of cream and sugar, the scent of vanilla sneaking into the air. It’s anticipation disguised as dessert. There’s this subtle joy in knowing every single ingredient in tasting something you built, not just bought.
And here’s what surprises most people: it’s easier than it sounds. You don’t need a culinary degree or six eggs whisked into a custard. This is a humble, flexible base that delivers rich, velvety results whether it’s your first batch or your fiftieth. If you’ve ever wanted to recreate the ice cream your grandma used to make or the one you think she made this is how you start.
You begin with vanilla classic, forgiving, quietly brilliant. But make no mistake: this is just the entry point. Toasted almonds? A swirl of something boozy? Go for it. For now, you just need some curiosity. And yeah, maybe a spoon.
Table of Contents
Why Make Homemade Vanilla Ice Cream?
Maybe you’ve asked yourself this mid-summer, staring at a freezer aisle that feels like it goes on forever: Why not just buy it?
Fair question. But here’s something that doesn’t get said enough, Store-bought ice cream, even the fancy pints with the minimal packaging, usually sacrifices soul for shelf life. Stabilizers. Emulsifiers. Air. Lots of air. And while that might not seem like a big deal, once you’ve had homemade vanilla ice cream, you’ll catch the difference. It’s in the texture. The flavor. The way it doesn’t cling weirdly to your tongue.
But this is bigger than flavor. It’s about trust. About knowing what’s in your dessert. No unpronounceable additives. No weird aftertaste. Just cream, milk, sugar, real vanilla, a pinch of salt and you. If you love nostalgic desserts, you might also enjoy our sticky pudding cake, which is rich, gooey, and equally rewarding to make.
Also? It’s surprisingly centering. Ice cream-making slows you down. It’s repetitive in a good way the kind of thing that makes you feel present. In a world built on convenience, there’s something borderline rebellious about making your own dessert from scratch.
And hey it’s fun. Genuinely. The kind of kitchen project where you don’t mind making a bit of a mess. The kind where kids want to help and adults pretend they’re only doing it “for the kids.” Once you get the hang of vanilla, you’ve opened the door to every other flavor imaginable.
Is Homemade Ice Cream Worth It?
Depends who you ask but if flavor, freshness, and the ability to say “I made this” matter to you? Then yes. It’s worth it. It might take longer than pulling a lid off a pint, but the result is something that reflects your choices, your taste buds, your effort. And honestly? That matters.
Essential Ingredients for Homemade Vanilla Ice Cream
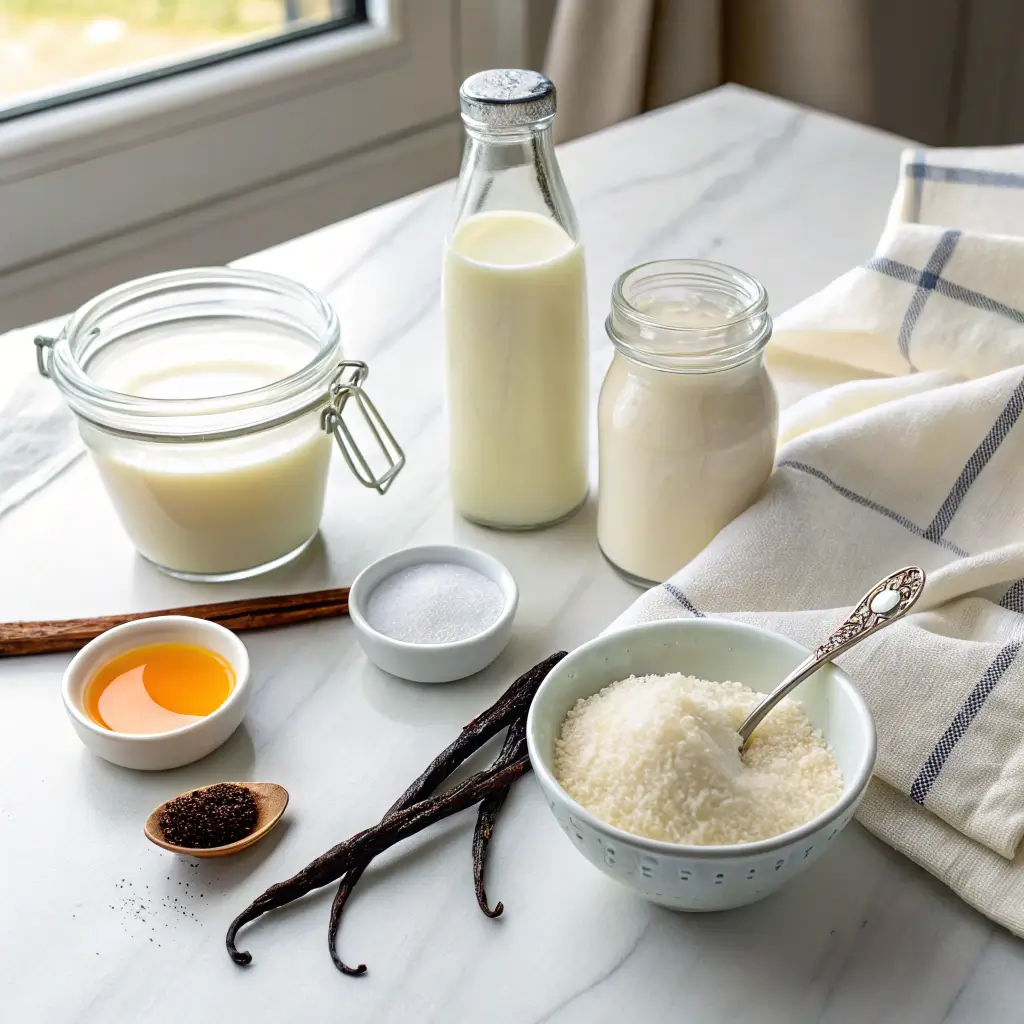
The recipe only calls for five ingredients. Simple, right? But don’t let the short list fool you each one has a job to do. There’s a bit of quiet science behind every scoop of homemade vanilla ice cream.
- Heavy Cream
This is where the magic begins. The fat from the cream is what gives your ice cream that thick, luxurious feel. The kind that melts just slowly enough to make you close your eyes a second longer than usual. Don’t sub it. Just don’t. - Whole Milk
Too much cream? You get something dense and overwhelming. Milk brings balance it cuts through the richness just enough to keep it light. You can use 2%, but honestly, you’ll miss that velvet finish. - Sugar
Of course, it sweetens. But here’s the kicker: sugar affects texture too. It lowers the freezing point, keeping things scoopable instead of rock-hard. Serious Eats explains how sugar chemistry directly impacts ice cream texture. Go too light on it, and you’ll end up with something more popsicle than ice cream. - Real Vanilla
Not optional. Extract, paste, or real beans whatever your budget allows, just make sure it’s real. The better the vanilla, the more your ice cream sings. And if you go for paste? Those flecks? They’re everything. - Sea Salt
Wait salt? Yep. Just a pinch. Not to make it salty, but to round things out. Without it, your sweet just tastes flat. Think of it like background music you don’t notice it until it’s gone.
Can I Swap Ingredients or Get Creative?
You can, and you probably will but know what you’re trading. Coconut milk brings great flavor but leans icier unless you add extra fat. Honey or maple syrup? Lovely, but they mess with the freeze. So yeah, play but know the rules first.
Step-by-Step Instructions for Homemade Vanilla Ice Cream
Here’s how to actually bring it to life. No drama, no precision panic. Just rhythm and common sense.
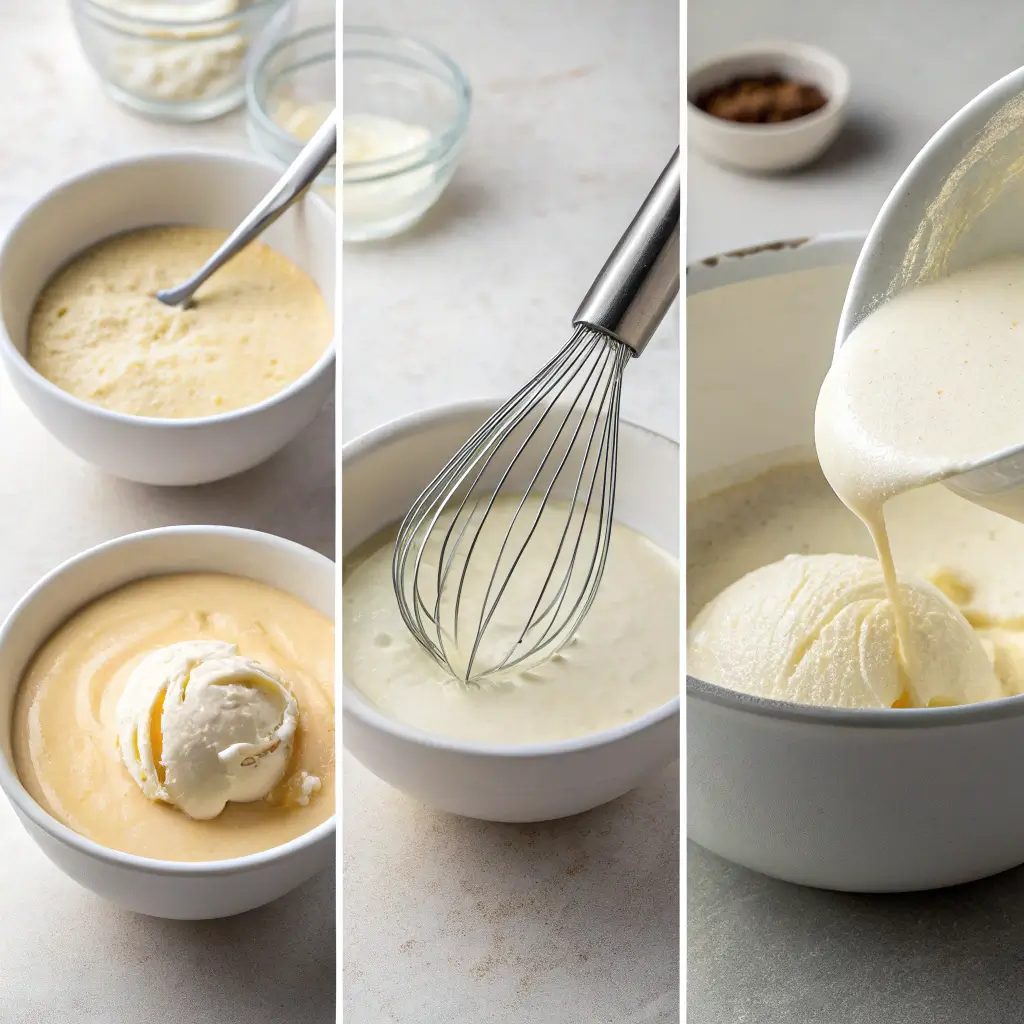
- Warm the base Combine your milk, cream, and sugar in a saucepan. Heat it gently medium, not maxed out. Stir occasionally until the sugar melts and the edges start to bubble softly. If it boils? You’ve gone too far. Remove from heat.
- Add vanilla + salt Off the heat, stir in your vanilla and sea salt. Taste it. It should already feel like a melted dessert. That’s how you know you’re on track.
- Chill it down Cover and refrigerate for at least 4 hours (overnight is ideal). The colder your base, the smoother your ice cream. Speeding it up in the freezer? It works, but be careful not to let it harden.
- Churn Once chilled, pour into your ice cream maker. Let it churn 15–25 minutes, until it’s thick and looks like soft serve. That’s your cue.
- Freeze Transfer to a container. Press parchment or wax paper directly on the surface (helps with ice crystals). Cover and freeze for 4+ hours.
How Do I Know It’s Done?
If it looks like soft-serve and holds its shape, you nailed it. If it’s soupy or refuses to firm up, chances are your base wasn’t cold enough. It happens.
Equipment You Might (or Might Not) Need
Not everything in your kitchen needs to be high-tech. But some tools help. Others? Totally skippable.
Recommended (but not sacred)
- Ice Cream Maker – Speeds things up and improves texture. Worth it if you’re serious.
- Heavy-Bottomed Saucepan – Keeps things from burning.
- Mixing Bowls – At least two. Basic.
- Whisk or Silicone Spatula – Stir and scrape. You know the drill.
- Container with Lid – Anything airtight. A loaf pan and foil work in a pinch.
- Parchment or Wax Paper – Press it on top before freezing to prevent ice.
No Ice Cream Maker? No Problem.
Here’s a low-tech way:
- Chill your base like normal.
- Pour into a shallow metal pan.
- Freeze it an hour.
- Stir vigorously with a fork.
- Repeat every 30 minutes for 3–4 hours.
Texture’s a bit icier, but flavor? Still stellar.
Do I Need a Fancy Ice Cream Scoop?
Not really. A warm metal spoon will do just fine. But if you want those perfect domes? Go for it. Spring-loaded scoops help. Otherwise, you’re good.
Flavor Ideas & Mix-In Combos
Now for the fun part riffing off that vanilla base. It’s a blank canvas. A very tasty one.
Flavor Boosters
- Espresso powder – Adds depth and a subtle bitter edge.
- Citrus zest – Lemon or orange for a sunny lift.
- Mint extract – Cool and clean. Add chips and you’ve got a classic.
- Cinnamon or chai spice – Warm, nostalgic, and a little unexpected.
Swirl Ideas
- Salted caramel ribbon – Rich, buttery contrast.
- Berry jam – Spoon and swirl post-churn for color and tang.
- Chocolate ganache – Melted and cooled, folded in like a dream. Want something even more indulgent? Try it with our chocolate cake recipe easy for the ultimate dessert duo.
Crunch & Texture
- Toasted nuts – Almonds, pecans, even hazelnuts.
- Crushed cookies – Oreos, gingersnaps, or shortbread.
- Cereal – Yep. Try Cinnamon Toast Crunch or Fruity Pebbles for fun.
When to Add
Always after churning, just before freezing. Too early and your mixer turns them into mush.
Serving Suggestions
Could eat it from the tub. Nothing wrong with that. But if you want to dress it up…
Keep It Classic
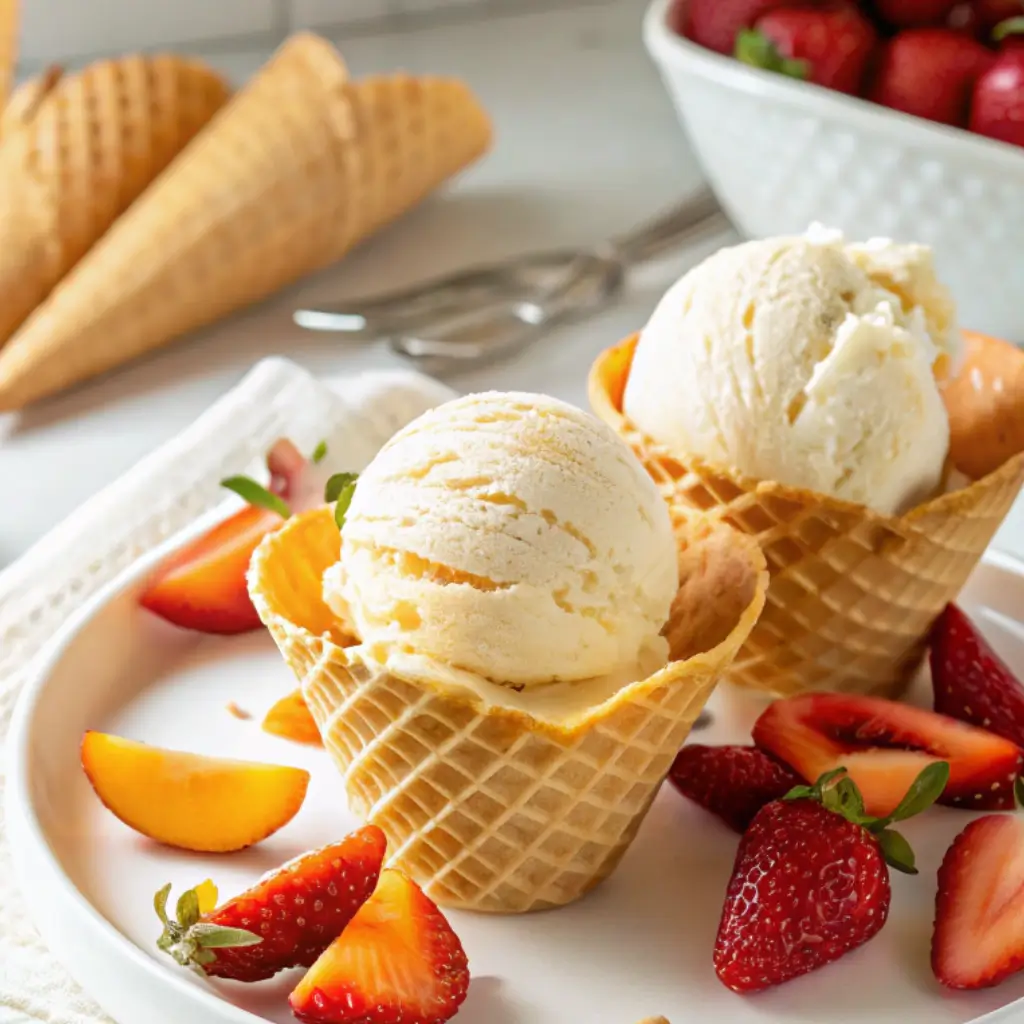
- Scoop into cones or waffle bowls.
- Serve with sliced strawberries, peaches, or whatever fruit’s ripe.
Build a Sundae
- Drizzle with fudge or caramel.
- Top with whipped cream and a cherry (old-school, still good).
- Add crunch chopped nuts, sprinkles, or cookie dust.
Go Fancy(ish)
- Serve a scoop over warm pie or brownies.
- Do an affogato hot espresso poured over ice cream.
- Ice cream sandwich with toasted brioche. Decadent, yes.
Storage & Shelf Life
Homemade doesn’t mean immortal. Here’s how to keep it fresh.
- Use a shallow container freezes more evenly.
- Press parchment on the surface to block air.
- Label it (you’ll thank yourself later).
Keep in the coldest part of the freezer. Pull it out 5–10 mins before scooping. Don’t nuke it just be patient.
How Long Does It Last?
Technically? Weeks. But after 10–14 days, flavor fades and texture gets icy. Best enjoyed within a week, honestly.
Frequently Asked Questions
Do I need an ice cream maker?
Nope. It helps, but the no-churn method works. Just more stirring.
Can I make this dairy-free?
Yes. Coconut milk is your friend. Just make sure it’s full fat.
Why is it rock hard after freezing?
Lack of stabilizers. Let it sit out before scooping, or mix in a tablespoon of alcohol (like vodka or bourbon) next time.
Can I double the recipe?
Sure. Just make sure your ice cream maker can handle it. If not, churn in two batches.
Paste, extract, or real vanilla beans?
All good. Beans give the most flavor, extract is easiest, paste gives you those Instagram-worthy specks.
Conclusion: Worth the Wait
Once you’ve made your own homemade vanilla ice cream, you stop seeing it as “just dessert.” It’s more like a tiny ritual. A reminder that some things are better when they take a little longer.
So yeah, it melts. It drips. It disappears. But for a moment, when you scoop it, you taste exactly what you made and that’s kind of everything.
Now go enjoy it your way. Cone, bowl, fork straight from the pan no wrong answers here.
7 thoughts on “The Joy of Homemade Vanilla Ice Cream”