
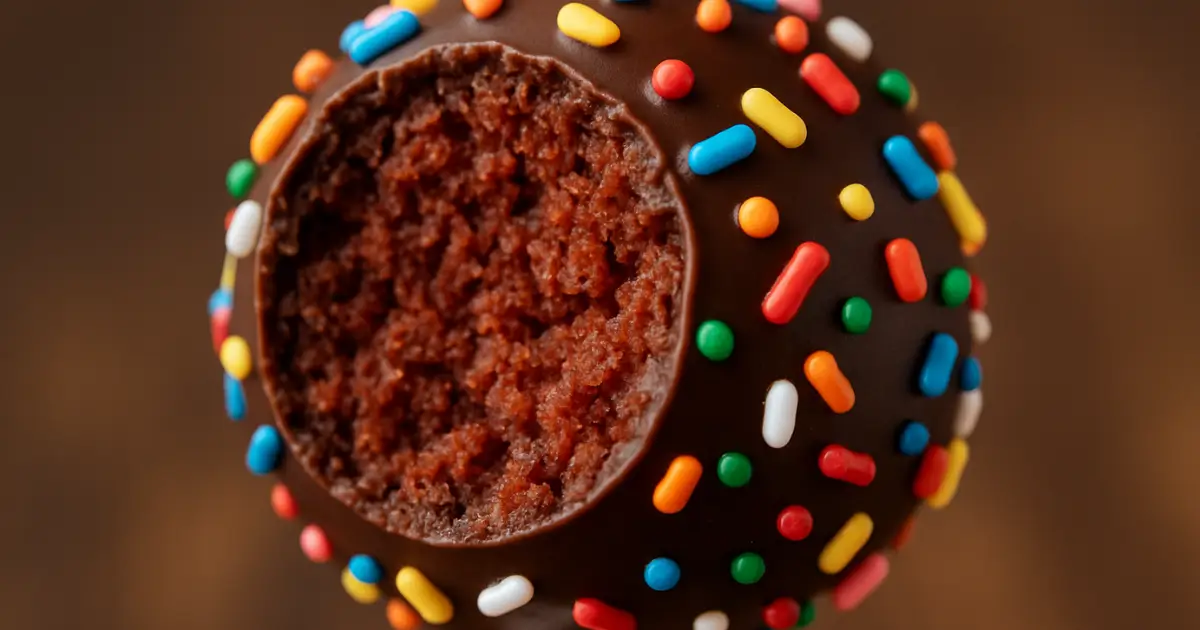
Cake pops look fancy, but they don’t have to be hard. These easy cake pops start with simple crumbled cake mixed with just enough frosting, then rolled, dipped in chocolate, and covered in sprinkles. They’re perfect for parties, gifting, or anytime you want a fun bite-size dessert
Table of Contents

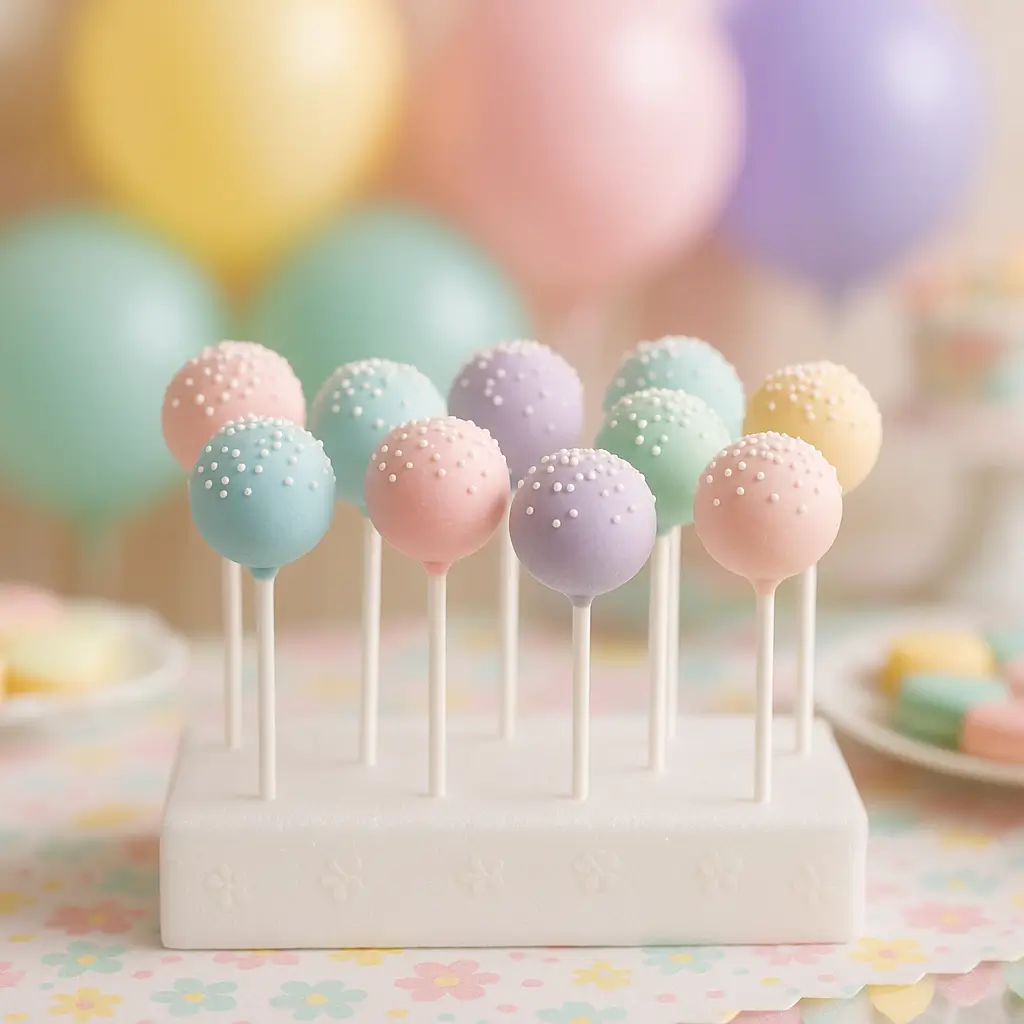
Easy Cake Pops
Equipment
- 9×13-inch cake pan
- Large Mixing Bowl
- hand mixer or stand mixer
- Parchment-lined baking sheet or tray
- Microwave-safe mug or deep bowl for melting chocolate
- Spatula or wooden spoon
- Cake pop sticks
- Styrofoam block, box with holes, or rice-filled glass for drying pops
Ingredients
Cake
- 1 box vanilla or white cake mix Or use one 8-inch/20cm homemade vanilla or white cake
- Ingredients listed on the cake mix box Usually eggs, oil, and water; prepare as directed
- 0.25 cup unflavored vegetable oil Add only if using a boxed mix, for extra moisture
Frosting
- 0.5 cup unsalted butter Softened to room temperature
- 1 cup icing sugar (powdered sugar) Also called confectioners’ sugar
- 1 teaspoon vanilla extract
- 1 teaspoon milk Add a splash more if needed for a spreadable consistency
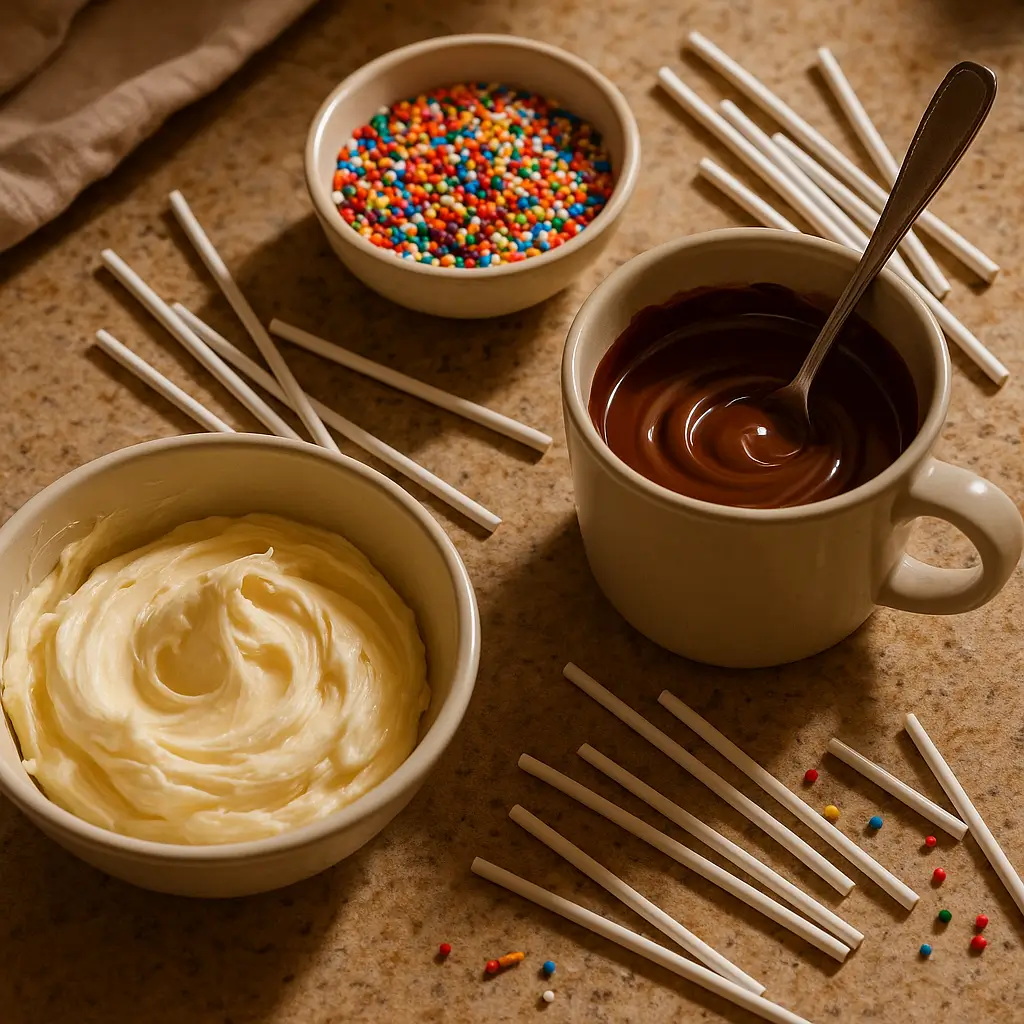
Coating & Assembly
- 3.5 cups chocolate or candy melts White, milk, dark, or a mix; candy melts are easiest for dipping
- 40 cake pop sticks
- Sprinkles or toppings of your choice Nonpareils, jimmies, crushed cookies, or drizzle
- Vegetable oil (optional) Add a teaspoon at a time to thin regular chocolate if not using candy melts
Instructions
- 1. Bake the cake. Prepare the cake mix according to the package directions, adding an extra 1/4 cup of vegetable oil if using a boxed mix for extra moisture. Bake in a 9×13-inch pan until done, then let the cake cool in the pan for about 15 minutes. Turn it out into a large mixing bowl and cool until just slightly warm.
- 2. Crumble the cake. Once the cake is cool enough to handle, use clean hands to break it into fine crumbs. Rub larger pieces between your fingers until the texture resembles soft, damp sand with no big chunks.
- 3. Make the frosting. In a separate bowl, beat the softened butter, icing sugar, vanilla, and milk together for about 3 to 4 minutes, until light, fluffy, and smooth. The frosting should be spreadable but not runny.
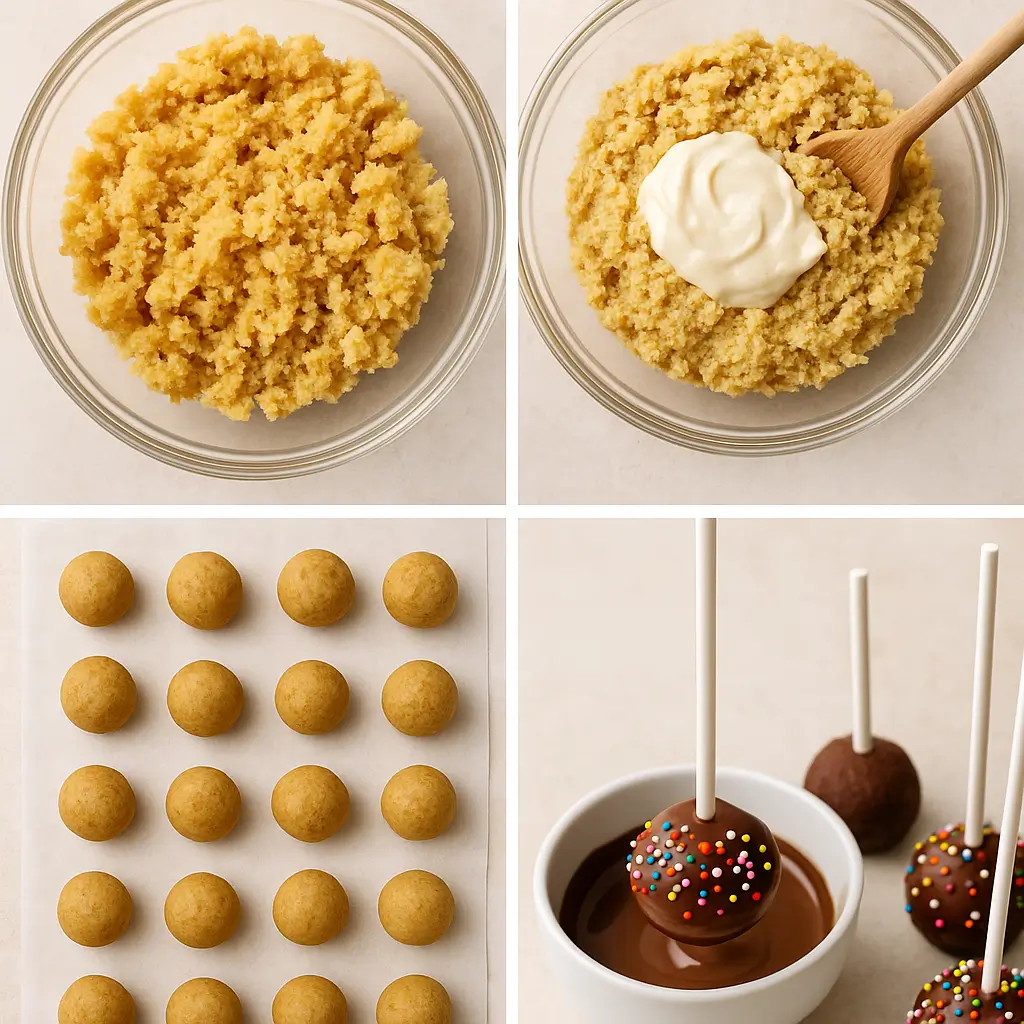
- 4. Combine cake and frosting. Add about 3/4 of the frosting to the cake crumbs. Mix by hand or on low speed until the mixture holds together like soft cookie dough when pressed. If it feels dry and crumbly, add a spoonful or two more frosting; if it feels wet or greasy, add a few extra crumbs.
- 5. Shape and chill the cake balls. Scoop tablespoon-sized portions of the mixture and roll into smooth balls. Arrange on a parchment-lined tray. Chill in the freezer for 10 minutes, then re-roll each ball to smooth any cracks. Chill again for 30 minutes in the freezer or 1 to 1 1/2 hours in the refrigerator until very firm.
- 6. Melt the coating. Place about half of the chocolate or candy melts in a microwave-safe mug or deep bowl. Microwave in 20-second bursts, stirring between each, until completely melted and smooth. If using regular chocolate, stir in a small splash of oil to thin to dipping consistency if needed.
- 7. Attach sticks and dip. Dip the tip of a cake pop stick about 1/2 inch into the melted chocolate, then insert it halfway into a chilled cake ball. Let the chocolate seal for a minute. Holding the stick, dip the cake pop into the melted chocolate, turning to coat. Gently tap off excess coating and immediately decorate with sprinkles or toppings. Place upright in a styrofoam block, box with holes, or rice-filled glass to set.
- 8. Let set and serve. Repeat with the remaining cake balls, reheating or adding more melted chocolate as needed. Allow all cake pops to set completely at cool room temperature or in the refrigerator until the coating is firm. Serve chilled or at room temperature. Store leftovers covered in the fridge for up to 5 days or freeze for longer storage.
Notes
- Texture is everything: The cake-and-frosting mixture should feel like soft, moldable dough—not sticky or mushy. Add frosting slowly so you don’t overdo it.
- Chill twice for smooth pops: A short chill, re-roll, then a longer chill helps prevent cracks and keeps the pops perfectly round.
- Seal the sticks: Always dip the stick in melted chocolate before inserting—this “glue” helps the cake pop stay on the stick during dipping.
- Make-ahead friendly: Undipped cake balls or finished cake pops can be frozen. Thaw in the fridge before dipping or serving so the coating doesn’t crack from temperature shock.
Why You’ll Love This Recipe
Let’s be real cake pops are the kind of treat that make people stop mid-bite and go, “Wait… did you make these yourself?” That moment alone is worth it. But here’s why this particular recipe earns a permanent spot in your dessert rotation:
- No Fuss, Just Fun: You don’t need a bakery setup. A boxed cake mix + a homemade frosting = the perfect shortcut that still feels homemade.
- Kid-Proof & Party-Ready: Whether you’ve got little hands helping or a crowd to impress, these are almost guaranteed to disappear within minutes.
- Customizable to the Max: Change the cake flavor, the frosting, the coating even the sticks if you’re feeling wild. You’re not locked into anything here.
- Actually Work (Even If You’ve Failed Before): With smart tricks like the double-chill method and chocolate that won’t crack weirdly, this isn’t a maybe-it-works kind of recipe.
Want more show-stopping, crowd-pleasing ideas? Check out our chocolate-covered strawberry cupcakes for another party-perfect sweet.
And above all? They’re fun. The kind of treat that makes you feel like a dessert designer without the stress. And if you’re gifting them? Just prepare for compliments. Lots of them.
Ingredients for Cake Pops
This recipe makes about 40 cake pops. You can use a boxed cake mix or your favorite homemade cake either way, the texture will be just right for rolling.
For the Cake
- 1 box vanilla or white cake mix
(Makes one 8-inch/20cm cake or use your favorite from-scratch vanilla/white cake recipe) - Ingredients listed on the box (usually eggs, milk, and oil)
- ¼ cup (52g) unflavored vegetable oil (like canola only if using a boxed mix)
For the Frosting
- ½ cup (113g) unsalted butter (softened to room temperature)
- 1 cup (120g) icing sugar (aka powdered or confectioners’ sugar)
- 1 tsp vanilla extract
- 1 tsp milk
For Coating & Assembly
- 3½ cups chocolate or candy melts (white, milk, dark or a mix. Candy melts work best.)
- 40 cake pop sticks
- Sprinkles or toppings of your choice
- Optional: extra oil to thin regular chocolate (if not using candy melts)
📌 Pro Tip: If you’re using store-bought frosting, chill it first it’s usually too soft straight out of the tub. And skip the frosting that comes with boxed cake kits. It’s rarely worth it.
How to Make Cake Pops (Without Losing Your Mind)
Making cake pops might look like a multi-step magic trick, but it’s really just a rhythm: bake, crumble, mix, roll, chill, dip, decorate. Let’s break it down in real-life language.
1. Bake the Cake
- If you’re using a boxed mix, prep it as directed on the box but add an extra ¼ cup of oil for added moisture.
- Bake and let the cake cool for about 15 minutes in the tin. Then run a knife around the edge and tip it into a large mixing bowl.
- Bake according to package or recipe directions, then let the cake cool for about 15 minutes in the tin. (Warm is ok, but not hot—you don’t want the frosting to melt when you mix it in.)
2. Crumble It Down
- Once the cake is cool enough to touch, break it apart with your hands until it resembles fine crumbs. Think sandcastle sand.
3. Make the Frosting
- In a medium bowl, beat the butter, icing sugar, vanilla, and milk for about 4 minutes on medium speed. You’re looking for light, fluffy, spreadable magic.
4. Combine Cake + Frosting
- Add about ¾ of your frosting to the cake crumbs. Mix gently by hand or with a mixer until it holds together like a soft dough. Add more frosting only if needed. Too wet = mush. Too dry = cracks.
5. Shape the Cake Balls
- Scoop out tablespoon-sized portions, roll into balls, and place on a tray lined with parchment.
- Chill in the freezer for 10 minutes (or fridge for 30), then roll them again to smooth out any rough spots.
- Chill again this time for 30 minutes in the freezer or 1.5 hours in the fridge.
6. Melt the Chocolate
- Melt half your chocolate or candy melts in a mug or deep bowl (20-second microwave bursts or over a double boiler), stirring between bursts until completely smooth and glossy.
7. Stick + Dip
- Dip the tip of each cake pop stick into melted chocolate, then insert it halfway into a chilled cake ball. This helps the ball stay put.
- Let that chocolate seal for a minute, then dip the entire cake pop into your melted chocolate. Swirl and tap off the excess.
- Quickly decorate with sprinkles before the coating sets.
8. Let Them Set Upright
- Pop each finished cake pop upright into a styrofoam block, a box with holes, or even a rice-filled glass. Let them cool until the chocolate is firm.
These little guys set quickly, but make sure they’re fully hardened before serving. Bonus: they keep well in the fridge, so feel free to make ahead.
Serving Suggestions
There’s something weirdly joyful about handing someone a cake pop. It’s not just dessert it’s a little moment. You watch them pause, grin, maybe ask, “Did you make these?” And just like that, you’re the person who brought the magic, and if you want something light and creamy to pair them with, try our no-bake cheesecake fruit salad. It’s a cool contrast to the cake pops’ richness, especially in summer.
Here’s how to make those moments happen.
For Casual Gatherings
- On a Plate, No Fuss: Honestly, these don’t need a grand entrance. Pile them up on a white platter, and they speak for themselves.
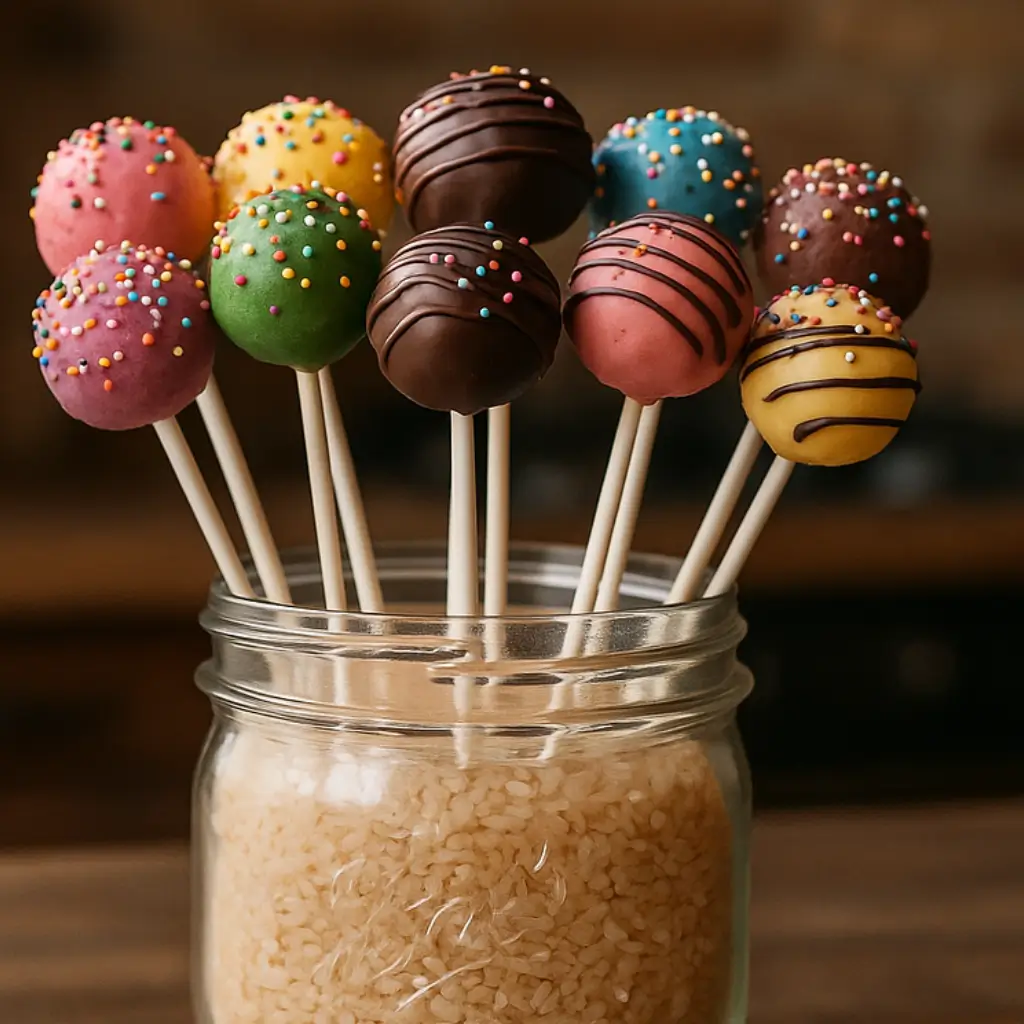
- Pop-and-Go Jars: Stick a few upright in a mason jar filled with sugar or rice. Looks homemade in the best way.
For Gifting
- Tiny Cellophane Bags: A few pops, tied with twine. Maybe a handwritten note. That’s a whole love language.
- Bake-Swap Hero: Show up with these, and you’re the one everyone asks for the recipe from.
For Bigger Events
- Themed Toppings: Color-coordinate the sprinkles or drizzle blue and white for a baby shower, pink and red for Valentine’s Day, black and gold for New Year’s Eve.
- Make-Ahead Centerpieces: Use styrofoam inside flower pots and stand the pops in like edible bouquets. Bonus: guests can take one on the way out.
Honestly? However you serve them, people just light up. That’s the real secret ingredient.
Tips & Variations
Here’s where the magic meets the mishaps and how you get ahead of them. Making cake pops can feel like a delicate dance, but with these tried-and-true tips, you’ll skip the stress and go straight to the satisfying part.
Real-Life Tips That Save the Day
- Chill Twice, Not Once: Roll your cake balls, chill them, then roll again before the final chill. It’s the secret to getting that perfectly round look (without them cracking in the chocolate).
- Stick Stability 101: Dip the tip of the stick in melted chocolate before inserting into the cake ball. This “glue seal” is non-negotiable especially if you’re using heavier decorations.
- Watch the Chocolate Temp: If your melted coating starts to thicken, warm it up again in short bursts. Dipping in too-cool chocolate = weird, lumpy coverage. Nobody wants that.
- Too Soft? Rechill. If the balls are starting to feel squishy mid-dipping, pop them back in the freezer for 10–15 minutes. Soft pops fall apart. Cold pops stay classy.
- No Cake Pop Stand? No Problem. Try filling a cup with rice, poking holes in a shoebox, or using a foam block from the dollar store. Function over fancy.
Flavor Variations to Try
- Chocolate Lovers: Use a chocolate cake base with cocoa-fortified frosting. Dust the outside with crushed Oreos or drizzle with dark chocolate.
- Lemon Burst: White cake + lemon zest + lemon glaze coating = a summery dream.
- Red Velvet Remix: Red velvet cake and cream cheese frosting, dipped in white chocolate with red sugar dusting? Instant crowd-pleaser.
- Holiday Mode: Add crushed candy cane, pumpkin spice, or mini M&Ms inside the mix depending on the season.
For more inspiration on flavor spins and mix-ins, Sally’s Baking Addiction has a creative guide that blends bakery-quality technique with home-baker vibes.
🎯 Bonus Hack: Add a tiny piece of chocolate or caramel inside the center of the cake ball before rolling. Surprise middle = instant “Whoa!” from whoever bites in.
Nutritional Information
Per easy cake pop (based on a batch of 40):
| Nutrient | Amount |
| Calories | ~166 kcal |
| Carbohydrates | 25g |
| Protein | 1g |
| Fat | 9g |
| Saturated Fat | 5g |
| Sugar | 15g |
| Cholesterol | 6mg |
| Sodium | 90mg |
| Calcium | 41mg |
| Iron | 0.3mg |
Want to double-check calorie estimates or compare brands? Nutritionix lists breakdowns for major cake pop brands, so you can see how yours stack up.
📌 Note: These are ballpark figures. Actual numbers will vary depending on the cake mix, chocolate, and portion size.
FAQs
What are cake popsicles?
They’re basically the glam cousins of cake pops. Instead of being round and bite-sized, cake popsicles are shaped like actual popsicles you press the cake-and-frosting mix into molds and coat them in chocolate. They’re a little easier to decorate (more surface area!) and look super polished without being complicated.
What is the trick to making cake pops?
Honestly? It’s all about feel. The texture of the cake mix should be moldable but not mushy like soft cookie dough. And chilling is everything. Cold cake balls + warm, smooth chocolate = a clean dip that actually sets. Oh, and that trick where you dip the stick in chocolate before inserting it? It makes a huge difference in keeping everything stable.
What are the ingredients for cake pops?
The basics are simple:
Crumbled cake (any flavor)
Some frosting (enough to bind it together)
Chocolate or candy melts for dipping
Add sprinkles if you want to get fancy. You don’t need a ton and most of this stuff you probably already have or can grab in one grocery run.
Can you make cake pops and freeze them?
Totally. You can freeze them either after coating or just the rolled cake balls. If they’re already dipped, wrap them up tight and let them thaw slowly in the fridge so the chocolate doesn’t get all weird. If you’re freezing just the cake balls, bring them back to fridge-temp before dipping so the coating goes on smooth.
How do I keep cake pops from falling off the stick?
Make sure the mixture isn’t too wet, and always chill the cake balls thoroughly before dipping. Dipping the stick in melted chocolate before inserting it into the ball creates a “glue” that helps everything stay together once the coating sets.
Final Thoughts
Whether you’re prepping for a big celebration or just want a fun weekend baking project, this easy cake pops recipe gives you the structure and the freedom to make it your own. If your first batch isn’t picture-perfect, don’t stress they’ll still taste amazing.
So go ahead: roll, dip, sprinkle, repeat. Rate the recipe, leave a comment, and save it on Pinterest so you can find it again next time you need a party show-stopper.